Small Batch No-Bake Summer Berry Cheesecake
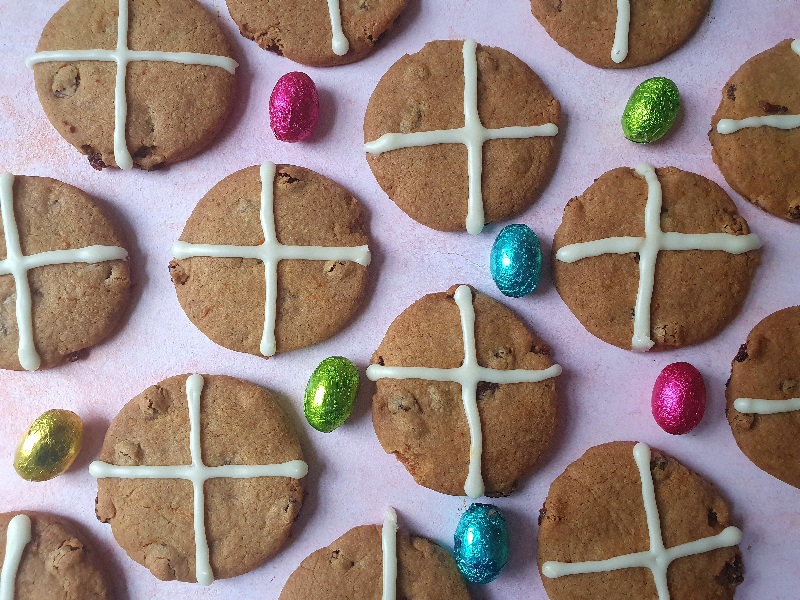
Hot Cross Buns Biscuits
26 March 2021
Speedy Pumpkin Bars
25 October 2021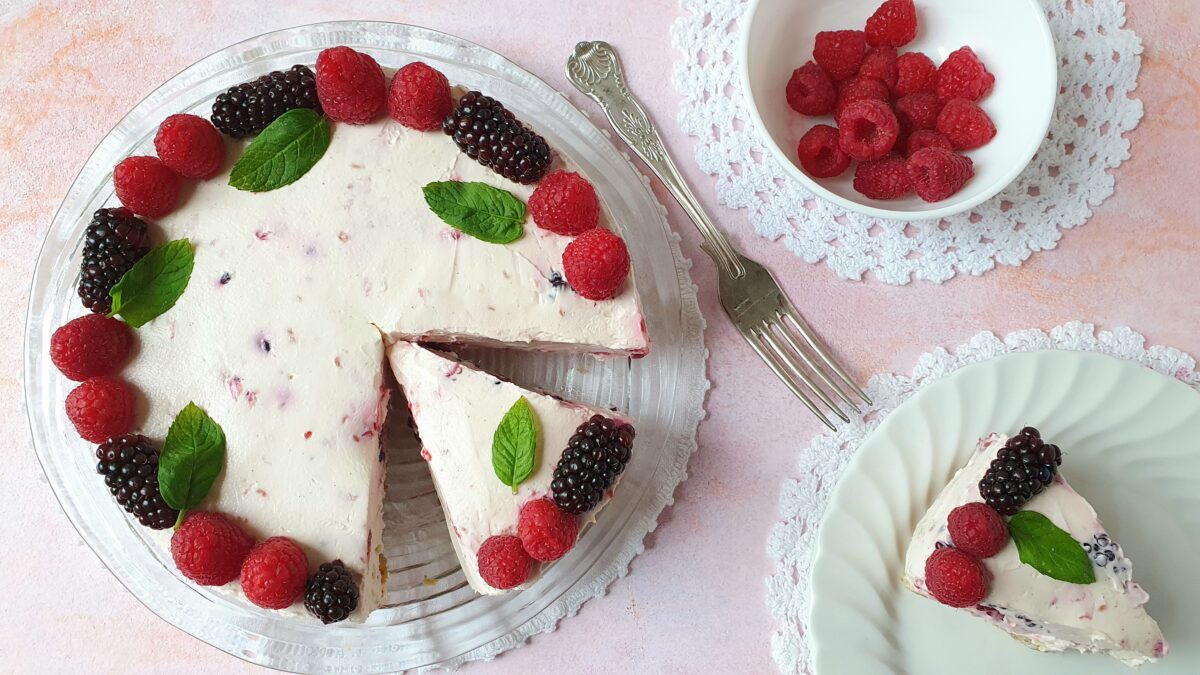
Summer Berry Cheesecake
Hi Peeps, I’m sorry for the radio silence. My bake shop has taken over my life and it seems like all I’ve been doing in the last six months is baking tonnes of biscuits!
I’m not quite sure how it happened but it’s Summer Solstice in two days’ time (yay!) which in my book means the long-awaited season of delicious, fresh, juicy berries from British farms. Hooray to strawberries, raspberries, blackberries and blueberries! I’m a huge fan of local seasonal fruit and to put my money where my mouth is I just mixed up this super easy no-bake berry cheesecake. Last week I posted about a no-bake lemon cheesecake on socials, and encouraged by the feedback from friends and neighbours who I shared it with I decided to come up with a slightly different summer version.
Small Batch Cakes
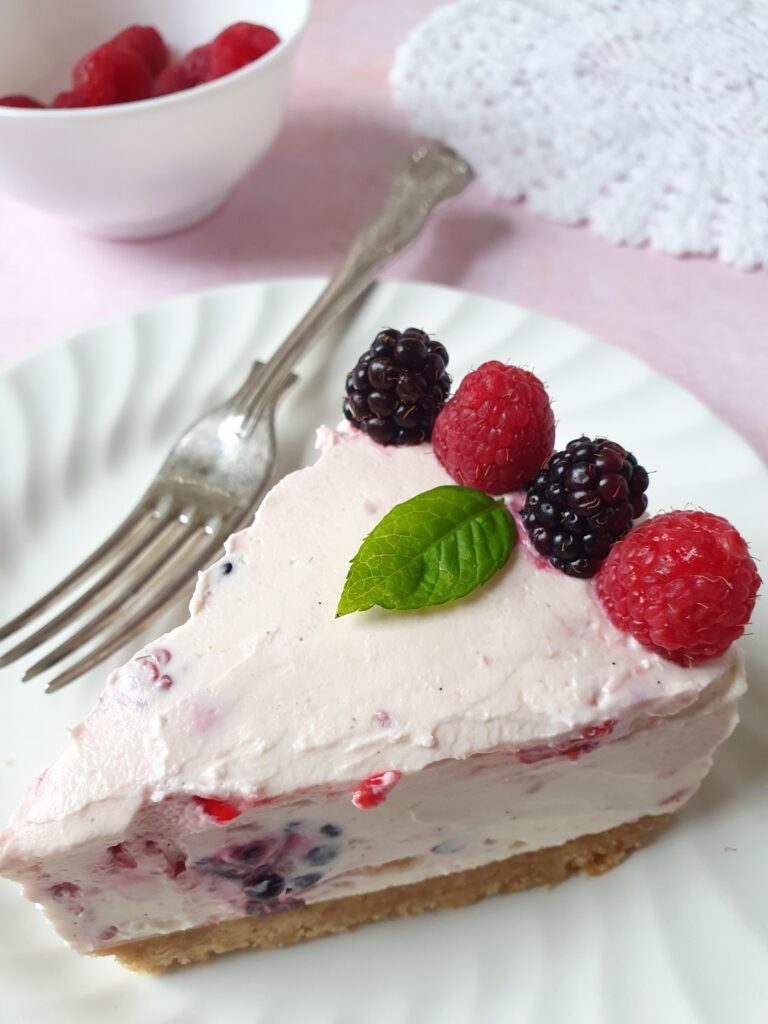
Small batch bakes have been trending on Instagram for a while, so this cheesecake is my humble contribution to the pandemic / lockdown cakes which feed a handful of people rather than a party. It makes 6 portions. Since my speciality is easy recipes that anyone can follow, this berry cheesecake is no exception – it’s done in minutes. The added bonus is that it’s eggless and the base is made from only two ingredients. And of course, there’s no need to bake it. Win-win on all fronts!
What You Will Need
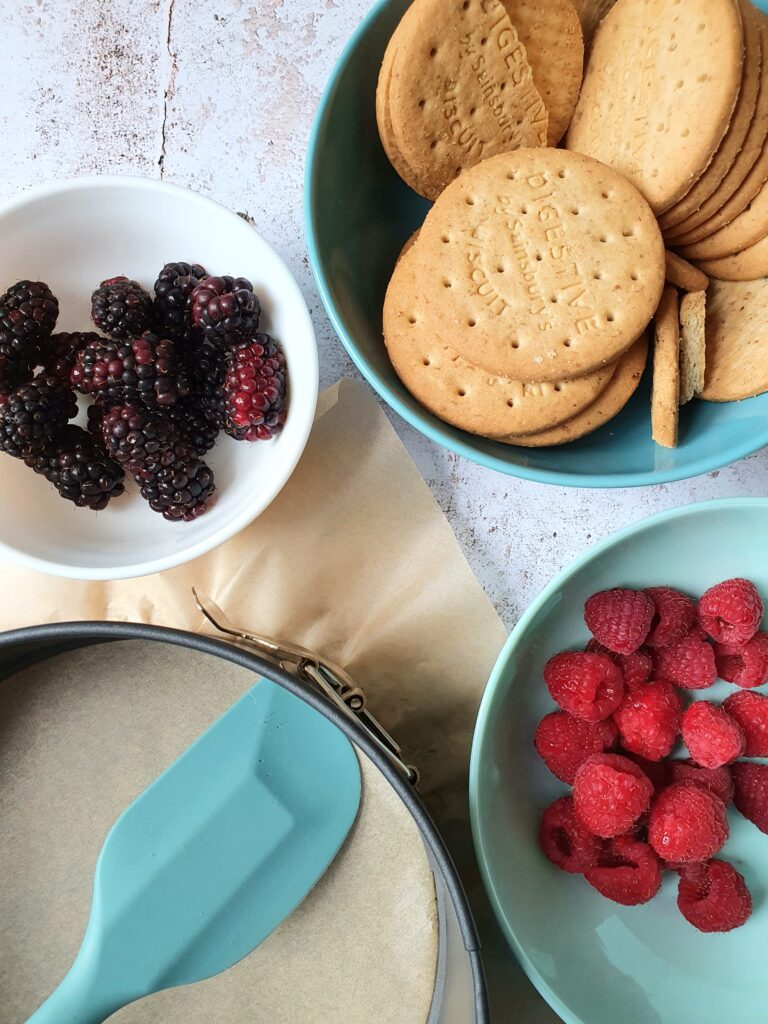
For the filling – you’ll need cream cheese, double cream, icing sugar and vanilla bean paste or vanilla extract. Yes, it’s that simple! I always go for Nielsen-Massey vanilla bean paste when I make buttercream, whipped cream or anything with mascarpone or cream cheese in it. That’s just my personal preference as I love its strong taste and the fact that you can see tiny vanilla seeds in it.
Now, for the cream cheese – many cheesecake recipes call for Philadelphia. I personally use supermarkets’ own brands as they don’t contain a thickener (Locus Bean Gum) which Philadelphia does. I’m a bit of a food purist and I try to avoid additivities where possible. A standard full fat supermarket’s own cream cheese will do the job equally well, its texture is perfectly fine and it’s half the price. Just make sure it’s full fat as it’s the fat in the cream cheese (and in the double cream) that will help bind the filling. Also, in order to avoid the cream cheese not combining with the double cream properly, curdling etc., especially in the summer hot weather, use them both COLD. In other words, take them out of the fridge just before mixing.
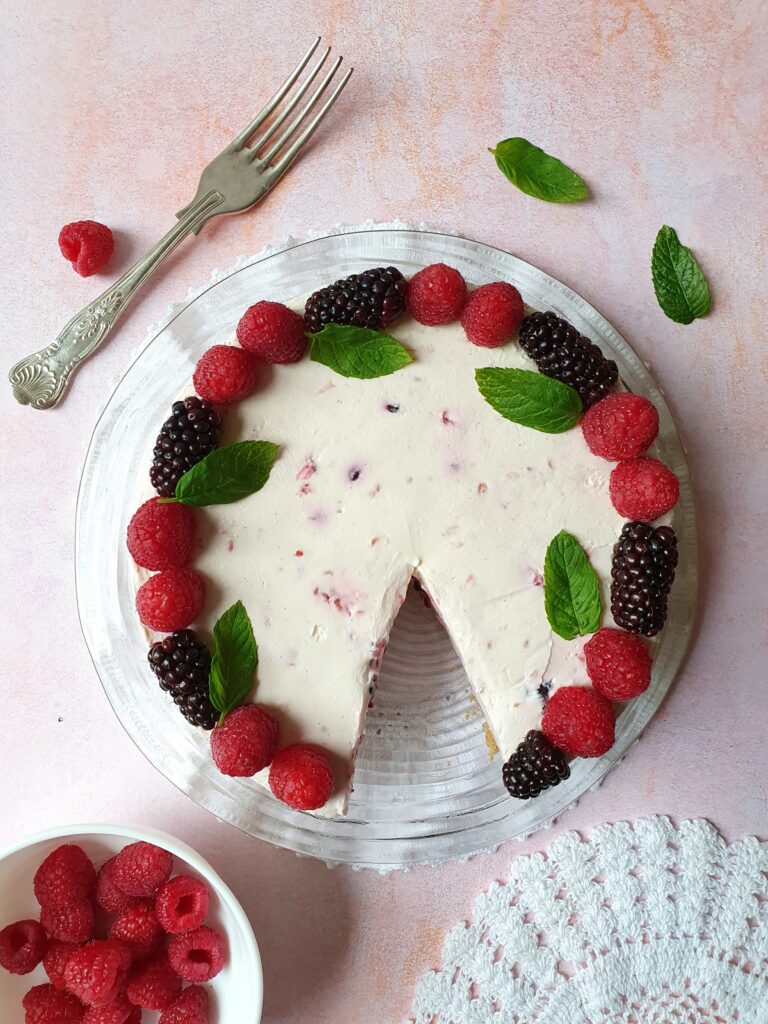
When it comes to the choice of fruit, a mix of blackberries and raspberries works very well in my opinion; sweet and slightly sour combo is what I love in cheesecake. Having said that, you can use just one of them or swap them for strawberries instead. Or use all three! As long as you stick to the ratio of the fruit to the filling in the recipe, you’re fine. Don’t be tempted to add more fruit though, especially if the berries are very ripe and juicy as they may make the filling too runny which will stop it from setting properly.
The base is made from plain digestive biscuits and melted butter. (I did say it was super easy, didn’t I?) I used Sainsbury’s own digestives, however any digestives will do. The only challenge in this recipe is…the wait – you will need to leave the cheesecake in the fridge overnight to set. In theory, it should set in about 6 hours but in my experience it’s better to leave it for longer not only to ensure the right texture, but for the flavours of the creamy filling and the berries to infuse fully. I usually make the cheesecake in the evening, leave it in the fridge overnight and decorate it in the morning.
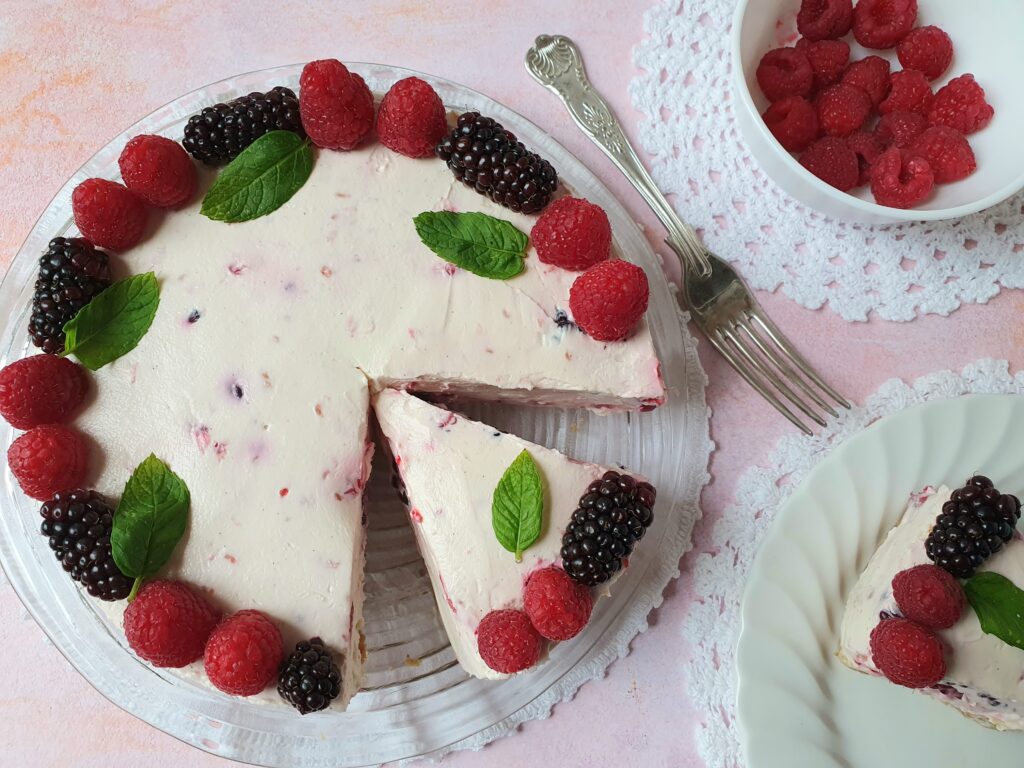
Now, without further ado, here is a recipe for the small batch no-bake raspberry and blackberry cheesecake:
Ingredients
For 18cm / 7inch spring tin
For the base:
- 250g plain digestive biscuits
- 100g unsalted butter
For the filling:
- 500g full-fat cream cheese (cold)
- 70g icing sugar
- 200ml double cream (cold)
- 1 teaspoon vanilla bean paste (or vanilla extract)
- 100g fresh blackberries
- 100g fresh raspberries
For decoration:
- 100g mix of both berries
- Fresh mint leaves (optional)
Method
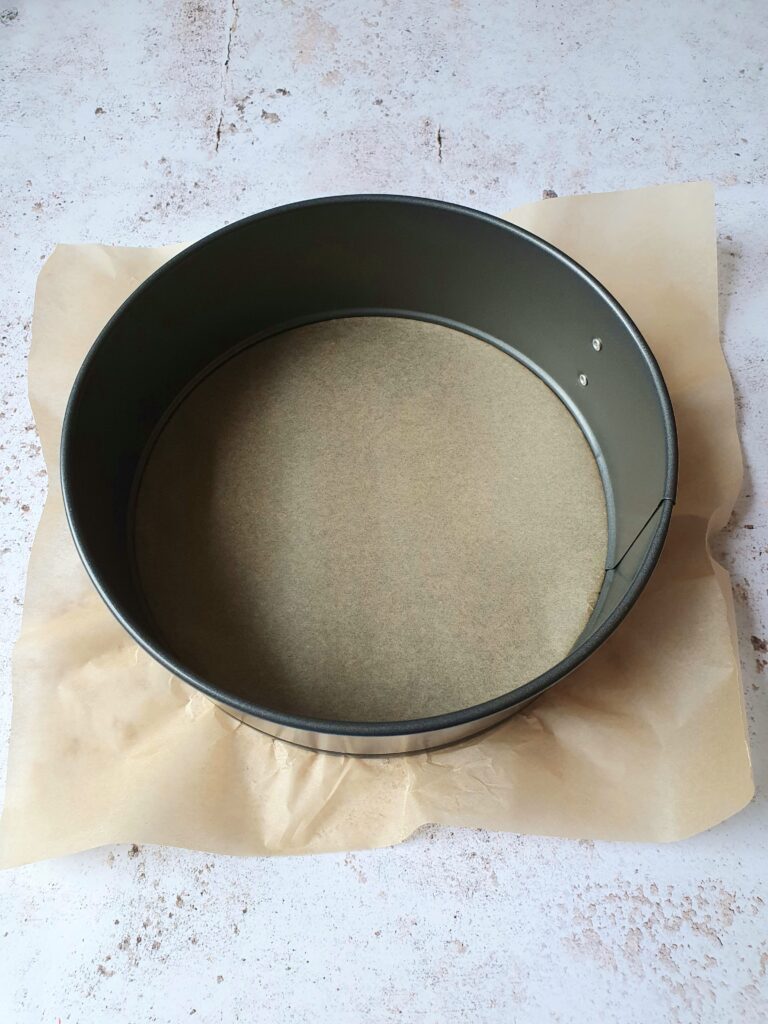
1. Line a baking tin with baking paper, it’ll help remove the cake once it’s set. (See photo.) Put the digestive biscuits into a food processor and blitz them until they resemble fine sand. Alternatively, put them in a plastic food bag and bash up with a rolling pin. Transfer into a bowl.
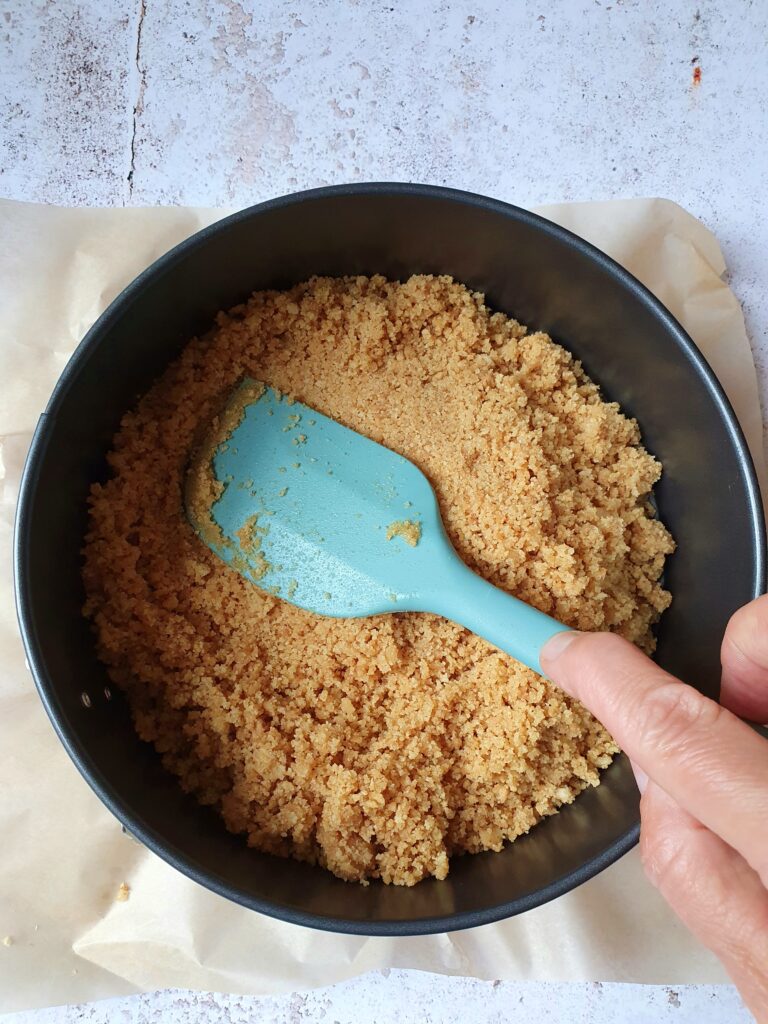
2. Over a medium heat, gently melt the butter. Pour it over the biscuit crumbs and mix together until the mixture looks like wet sand. Transfer the mixture into the tin and press down with your fingers creating a flat service. Press down firmly and smooth out with a spatula or spoon. Voila, the base is done! Put it in the fridge to cool down and firm up a bit.
3. While the base is cooling, prepare the filling. Put the cold cream cheese in a medium bowl. Sieve the icing sugar to remove any lumps and add it to the cream cheese. Using a hand mixer mix for about 15-20 seconds starting on low speed and then switching to medium. (All you’re doing here is combining the cream cheese and the sugar.) Next, add the cold double cream and the vanilla bean paste / extract and whisk again on medium speed. Don’t worry if the mixture looks very runny at the beginning, it’ll start thickening up soon. This takes about 20 seconds or so and it’s always better to under-whisk it than over-whisk it as the latter will result in a grainy texture. I usually stop the mixer as soon as I see the filling thickening up, then I give it a stir with a spatula to check how it’s doing. Most of the time, it needs a few more seconds.
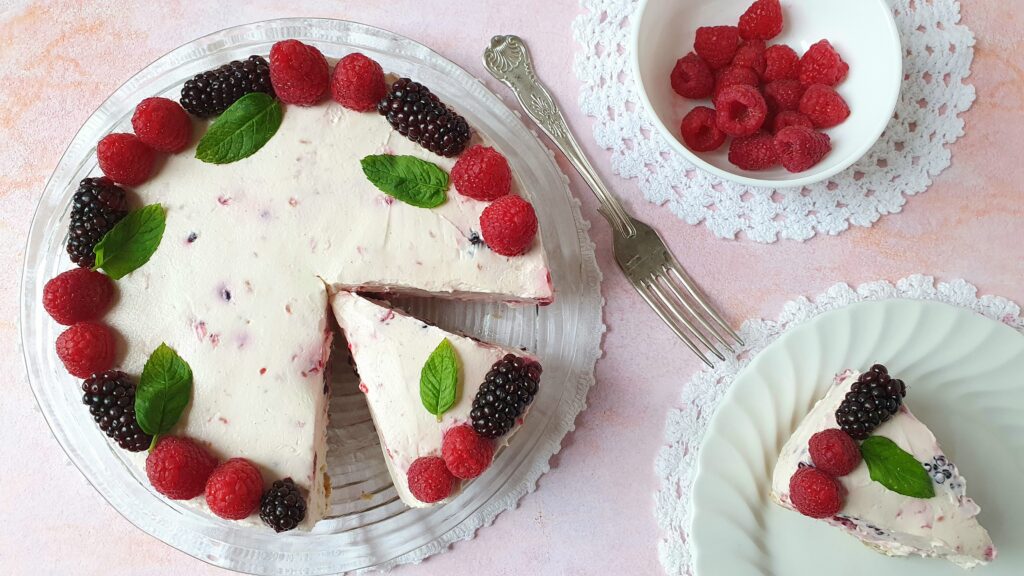
4. With a spoon or spatula, gently fold in the berries. Since they’re delicate, some may fall apart; fear not though, the tiny bits will dye the creamy filling a lovely light pink.
5. Pour the filling onto the cooled base and distribute it evenly pressing down quite firmly to avoid air bubbles. Leave in the fridge overnight. Next day carefully unclasp the tin and remove the cheesecake. Decorate with the remaining berries and some mint leaves. Enjoy!
Spread the love if you enjoyed this recipe – give me a like, leave a comment or both. Tag me on Facebook @riseandshinebaking or Instagram @riseandshine_baking and don’t forget to use hashtag #bakewithriseandshine. Thank you and happy baking!
Download the recipe

